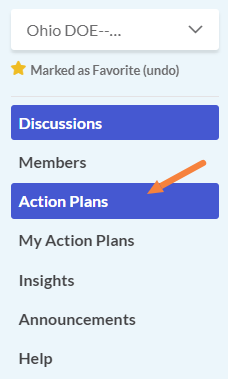
After logging into your group locate the left menu panel, the group name. Scroll down the menu and select Action Plans.
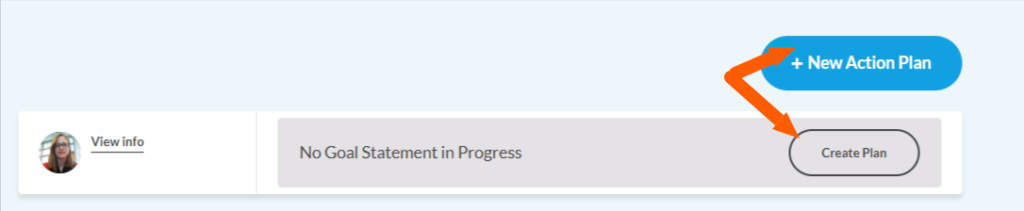
Locate the +New Action Plan Button
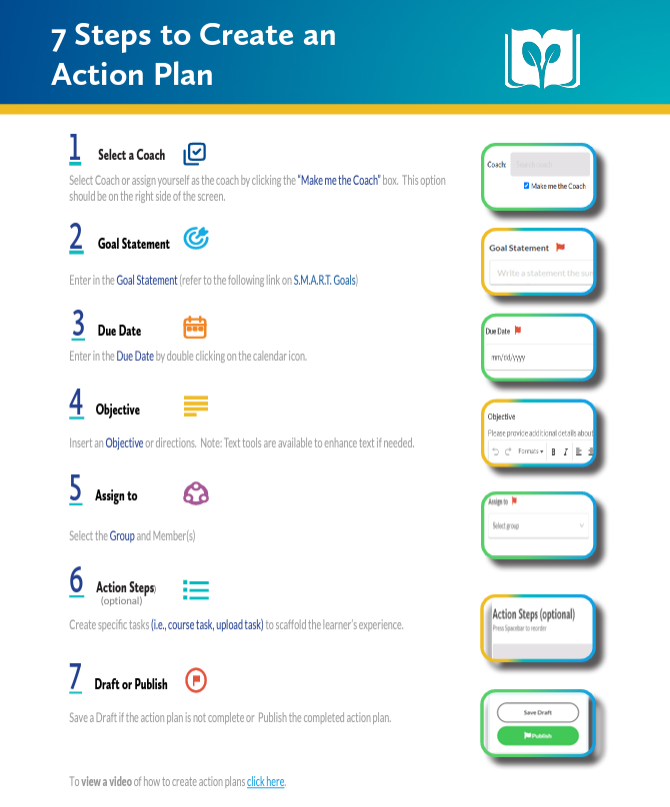
*Note: Each section of the Action Plan form that has a red flag indicates fields required to publish a plan.
On the next screen, select the +New Action Plan Button (i.e. to create a new action plan) located to the right. Action plans can also be created by selecting the Create Plan button aligned to a group member.
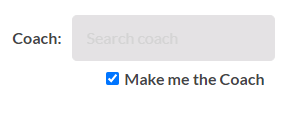
Step 1: Select a Coach
Next, locate the Coach Field to located to the right of your screen. Check the Make me the Coach box below the Coach Field.
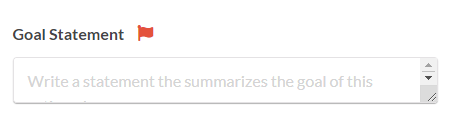
Step 2: Goal Statement
The second field to fill out is the Goal Statement. This field can be located in the top right section of the form.
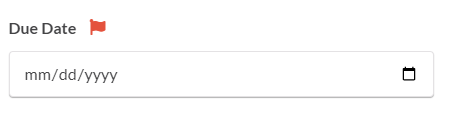
Step 3: Due Date
Enter in the Due Date by double clicking on the calendar icon.
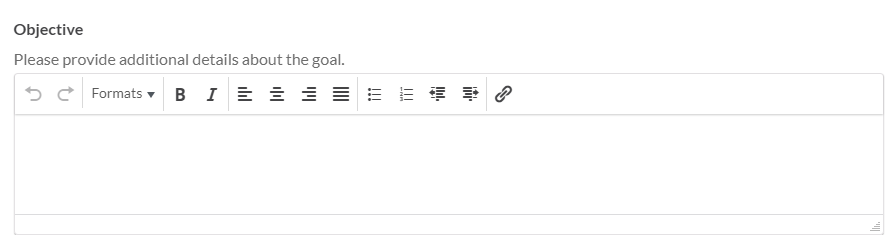
Step 4: Objective
Insert an Objective (i.e. directions. description etc.) to provide additional details about the goal.
Note: Text tools are available to enhance text if needed.
Step 5: Assign to
The Assign to field is the area that dictates where the action plan will be saved and who it will be assigned to. Select the Group and Member(s) by clicking the drop down menu.
*Note: More than one member can be selected at a time.

Step 6: Action Steps (optional)
If you want to create specific tasks to scaffold the learner’s experience (i.e. course task, upload task).
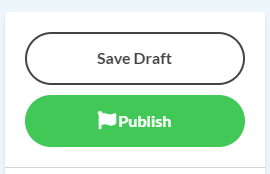
Step 7: Draft or Publish
Save a Draft if the action plan is not complete or Publish the completed action plan.
Downloadable Resource